21
Now that there are a couple audio clips in our project. It would probably be a good idea to understand how to edit these clips. In this section we will go over a few of the most common editing features used in Audacity. Many of these features can be accessed using the Tools Toolbar or the Edit Toolbar.


Cut & Paste
In Audacity, the most common editing you will do is cutting, pasting, and trimming. To cut, you would use the selection tool to select the area you would like to remove. Select an area in the middle of an audio clip. Click the scissors icon or press “Ctrl +X”. You will notice the selected area is removed and the audio found on either side of the selected area have been moved together.

This is probably not the result you were expecting. The selected audio is now stored on your virtual clipboard. Select a separate area on the track and click the ‘Paste’ button on the Edit Toolbar. The previously cut selection is now back.
When working with large audio clips using the ‘Cut’ tool to make many smaller clips might make the editing process easier.
History
To restore the previously cut and pasted audio, we can select the ‘Undo’ button on the Edit Toolbar. Likewise, if you undid too many previous tasks and you would like to restore something, there is a ‘Redo’ button on the Edit Toolbar as well.

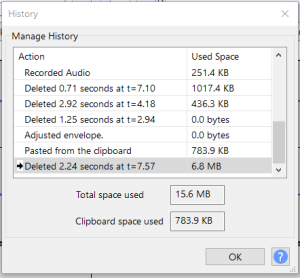
Also, if you would like to revert much further back in your project Audacity saves the history of your project and you can access the history under the View menu then click the ‘History’ menu item.
Trim
The ‘Trim’ tool works in the opposite way of the ‘Cut’ tool, and can also be found on the Edit Toolbar. Using ‘Trim’ you will be left with the selected area, and the unselected parts of the clip will be removed.

Be careful when using this tool on large audio clips, you might remove more than you intended.
Silence
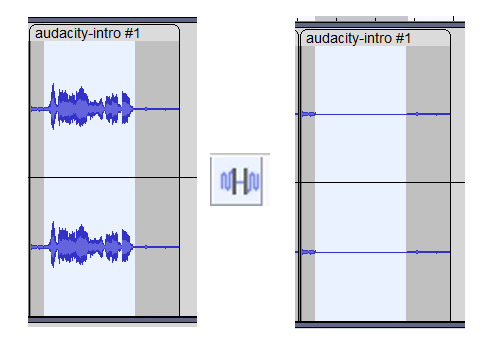
Silence does exactly what it sounds like it would do, it silences audio. You can use this as an alternative to cutting parts of your clip, if you would like. It is also a good way of reducing unwanted background noise between dialogue clips.

Time Shift or Moving Audio Clips
There used to be a tool in the Tools Toolbar called ‘Time Shift’. Essentially, this was the tool you would use to move around audio clips, since you can have several clips per track or project. However, with the latest release of Audacity, this function can be completed when you hover over the top of a clip where the clip title is and the hand cursor becomes available, you can then move clips around even onto a different track.
Zoom
If you are having trouble cutting, trimming, or silencing a portion of an audio clip, use the Zoom In and Zoom Out buttons on the Edit Toolbar to get a more precise selection of the area on the audio clip you would like to edit.

When Zooming really far in, remember to use the scroll bar at the bottom to navigate around your track
Scrubbing
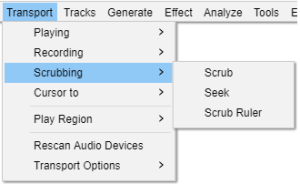
The primary method for scrubbing is with the Scrubbing command from the Transport Tooolbar: Transport > Scrubbing > Scrub

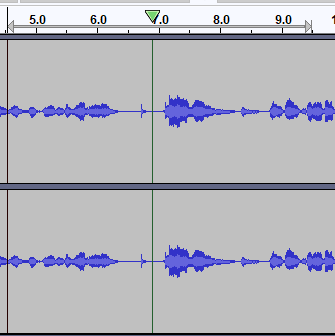
You can also selecting a section on the Timeline to Scrub and click the ‘Play’ button. This will replay this portion of your project in a loop. A great tool if you are trying to figure out what in that section of your project is just not right.

Envelope
The Envelope Tool can be used to emphasis parts of your track or quiet them down.
An amplitude envelope is manipulated by a number of control points. Each control point is visible by its four handles (the small circles in the image below), by which you can drag the point up or down to control the volume level.

Dragging either the top or bottom handle ensures you can never distort the track by dragging outside its original volume envelope.

