Close Lost Loans
CLOSE LOST LOANS
A job in Alma must be to change the status of lost items to missing, this removes the item from the patron account and allows for deletion of the bibliographic record if required.
Lost Regular Items
- Collections Services Workflow:
- After 92 days Collections Services will run the Close Lost Loans Job to close the loan and remove it from the Patrons account this changes the status of the item in Alma/Quick Find to Missing
- This will prevent any returned lost items from creating a negative balance on their previously associated patron accounts. It will also allow inactive patron records to be cleared out of Alma more frequently because no lost items will be attached to them preventing their deletion
- Note if the job is run before the transfer to Financial Services the fine will remain on the patron account
Lost Reserve/Textbook Items
- Collections Services workflow:
- Collections Services will run a lost status report on short loan items weekly to identify items and reorder as required
- When the Close lost loans job is run for regular items this will also remove lost short loan materials, this would happen 92+ days after it is lost
Analytics Report
An analytics report is run based on the Lost status of the item in Alma. This is required to create a set and change the status in Alma from Lost to Missing.
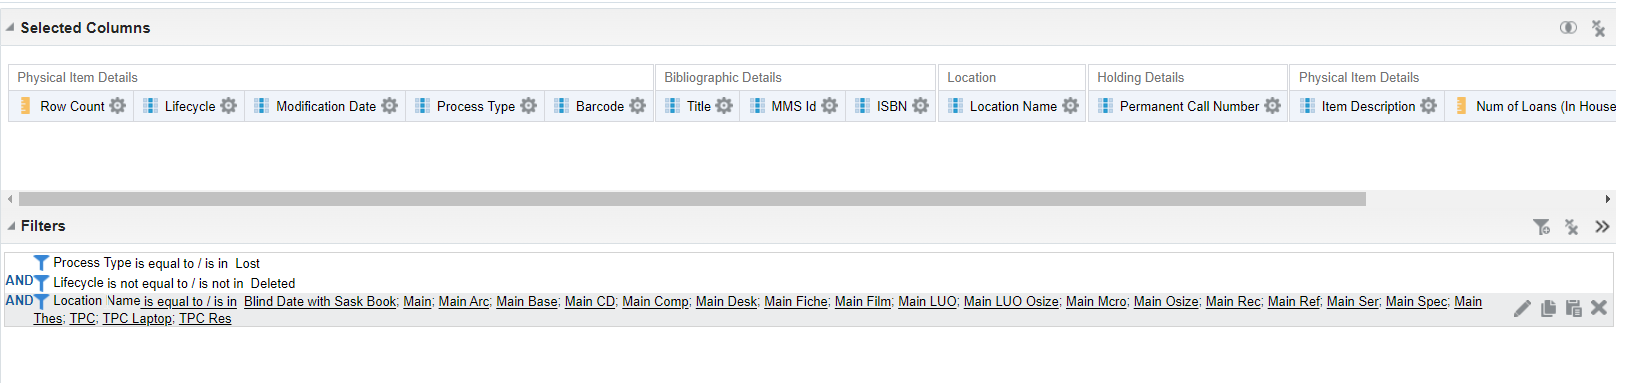
- In Alma Analytics the following report is available to run:
- Folders: shared/University of Regina/Collections Services/Physical Items/Lost – All Items Archer

- Ensure criteria is correct and run a report following standing Analytics procedures
- Save as an excel file to be used for the set in Alma
Create a set in Alma
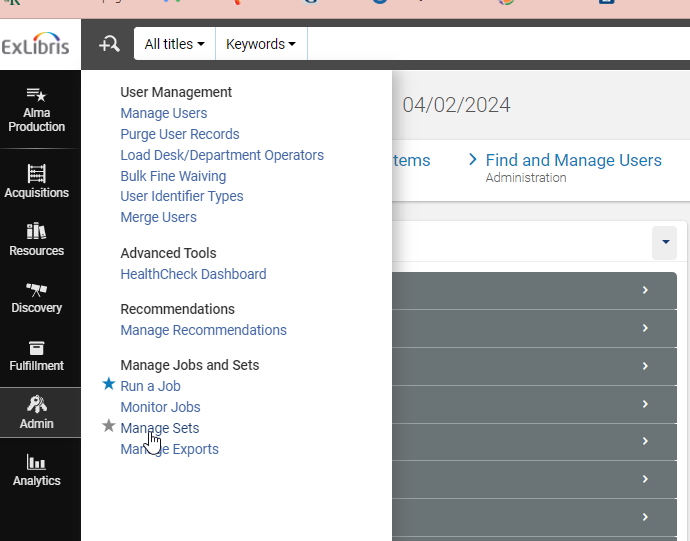
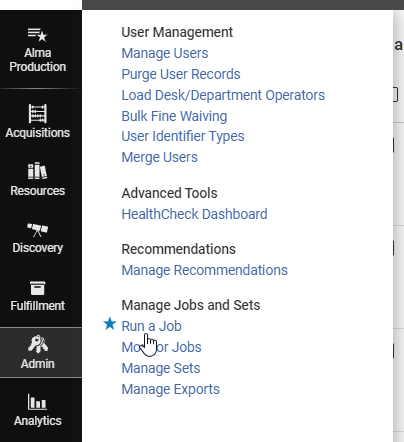
- Admin>Manage Jobs and Sets> Manage Sets
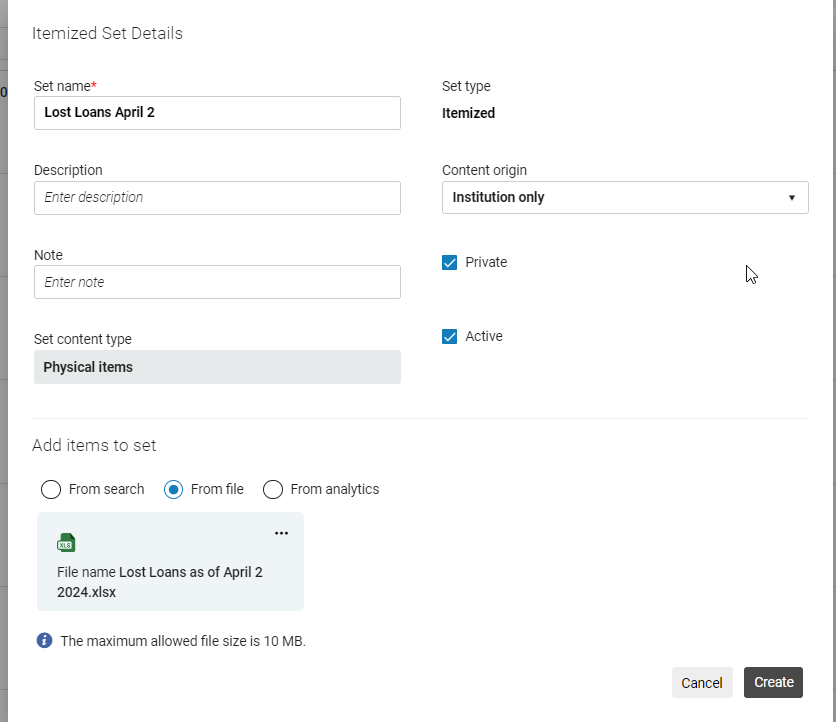
- Create Itemized Set

- Enter Set Name
- Select Content Type: Physical Items
- Ad items to set: Select From File
- Use the analytics report excel file
- Upload file
- Click Create
Close Lost Loans
- Admin>Manage Jobs and Sets> Run a Job
- To filter the jobs Select Type: Loan
- Select Close Lost Loans
- Click Next

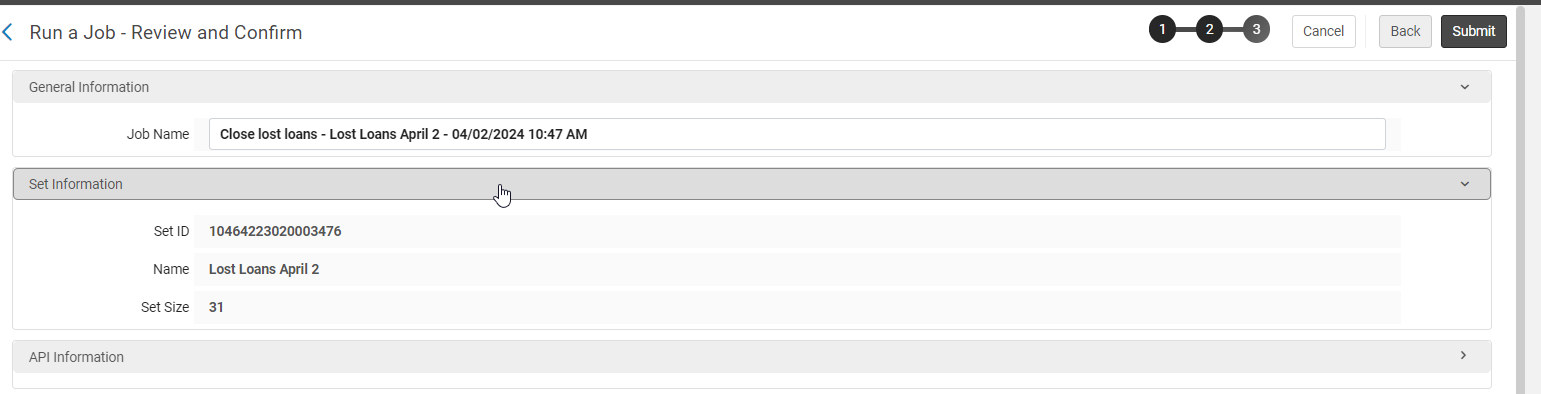
- Find and select the set that you created
- Click Next

- Click Submit
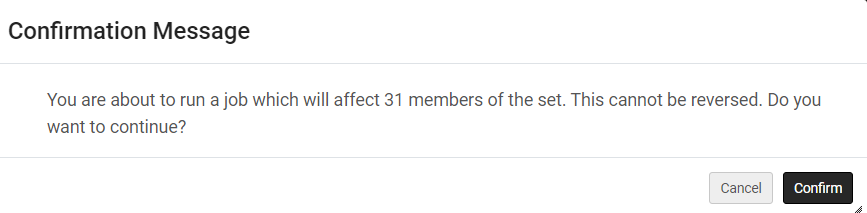
- Click Confirm
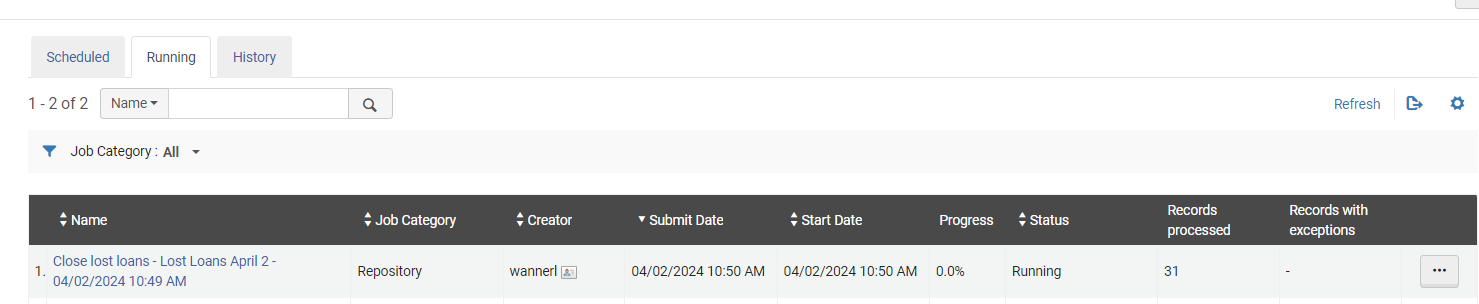
- Click Refresh to check the status of the job
- When it is complete it will move to the History tab – here you can see if there were errors or if it completed successfully